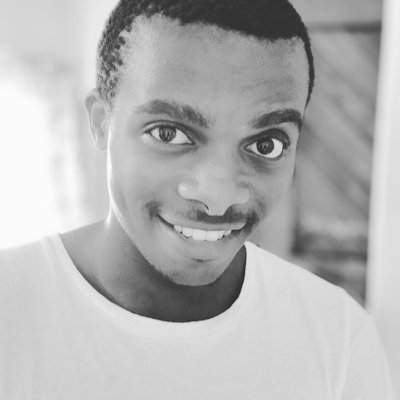
This week our feature podcast guest is Mr Ethan Marcotte, Father of Responsive Design. While getting the podcast page sorted I needed to source an image of Ethan and chose this lovely picture from Flickr by Jeffrey Zeldman.
The image weighs in at 1,005,480 bytes (1mb) and is 2048x1151px in size. Let's look at what we can do to improve the size.
Reduce the image dimensions First thing I did was reduce it down to 1600px. This is the largest size image that I add to the site because content rarely goes past a width of 900px. I could reduce the 1600px down further but a small part of me really likes some crispness to the image when viewed on high DPI devices. I should also point out that I make several versions of the image once it is uploaded to the CMS so smaller screens get the smaller image.
At 1600px I've managed to drop the size down to 967,471 bytes (971kb). Ethan Marcotte Cropped to 1600px
Reduce the image quality Next step was to optimise the image using the 'Save to Web' feature in Photoshop. I've set the quality to 60 and as a result I've managed to drop the size down to 211,095 bytes (213 KB). Ethan Reduce Quality to 60 (he's still top quality though)
Blur unimportant parts of the image At this point I realise that the image itself is focussed on Ethan, and he is really the only thing that needs to stand out. With that in mind I went back to the pre-optimised version and reopened it in photoshop. I made an outline of Ethan — so he was protected by a series of dotted lines — and then used the Filter>Blur>Blur More mode in Photoshop. After I used that once the background became slightly blurred. Not enough for my liking, so I continually pressed cmd+f to repeatedly apply the filter and blurred the background even further.
The idea here is to blur the unimportant areas of the image so we don't need to store as much data to display the image. The less crisp those areas are the less instructions the computer needs to reconstruct them… and the smaller the file.
After several (tens) presses I saved for web again setting the quality to 60 again. This time the size has dropped to 149,792 bytes (152 KB). Ethan Blur — well not Ethan but the parts of the image around him Optimise images (ImageOptim) The last stage was to run the image through ImageOptim which gave a final figure of 147,772 bytes (152 KB).
That's a saving of 857,708 bytes from the original image I downloaded from Flickr, or 9.1 jQuerys. Ethan Marcotte Image Optimised
Conclusion
Optimising Original Size (bytes) New Size (bytes) Saving (bytes)
Cropping/ImageDimensions 1,005,480 bytes 967,471 38,009
Reduce image quality 967,471 211,095 756,376
Image Blurring 211,095 149,792 61,303
Optimising Images 149,792 147,772 2,020
Total Saving 857,708 bytes
This whole process took me 10 minutes which included me coming up with new ideas on how to improve the compression and reserving images with different file names. If you added this to your usual workflow when including images you could optimise an image in 2-3 minutes.
At the end of the day you should always be asking, does this image really need to be on the page? In the case of the podcast guest I would argue that it doesn't, however, I made the sacrifice to remove some additional elements on the page to make way for a nice image of the guests, because I think the guests are great!
You should also always look to implement the <picture> implementation where ever possible — there's picturefill for support.


